Feature(may vary by option.)
●Accurate and Rapid: JAXWQ wall scanner adopt intelligent micro-sensor chip with highest sensitivity which can accurately and quickly find edges and center of metal, studs, joists, pipes, live AC wire behind walls, floors and ceilings. More than 2,000 times test, the accuracy is as high as 99.95%; Fast detection saves users time and efforts, making the task completion easier. No matter professionals, homeowner and DIY enthusiasts, it must be an ultimate choice.
●5 in 1 Multi-function Detection: The upgraded 5-in-1 mode provides users with more detection needs. 1/2 inch Stud scan mode Locates the center and edges of wood and metal studs up to 1/2 inch (13 mm) deep; Medium scan locates the center and edges of wood and metal studs up to 1 inch (25 mm) deep; Deep scan locates the center and edges of wood and metal studs up to 1.5inch (38 mm) deep; Metal scan detects metal (Ferrous and Non-Ferrous Metal) up to 2.36 inch (60 mm) deep; AC scan detects live unshielded AC wires up to 2 inch (51 mm) deep.
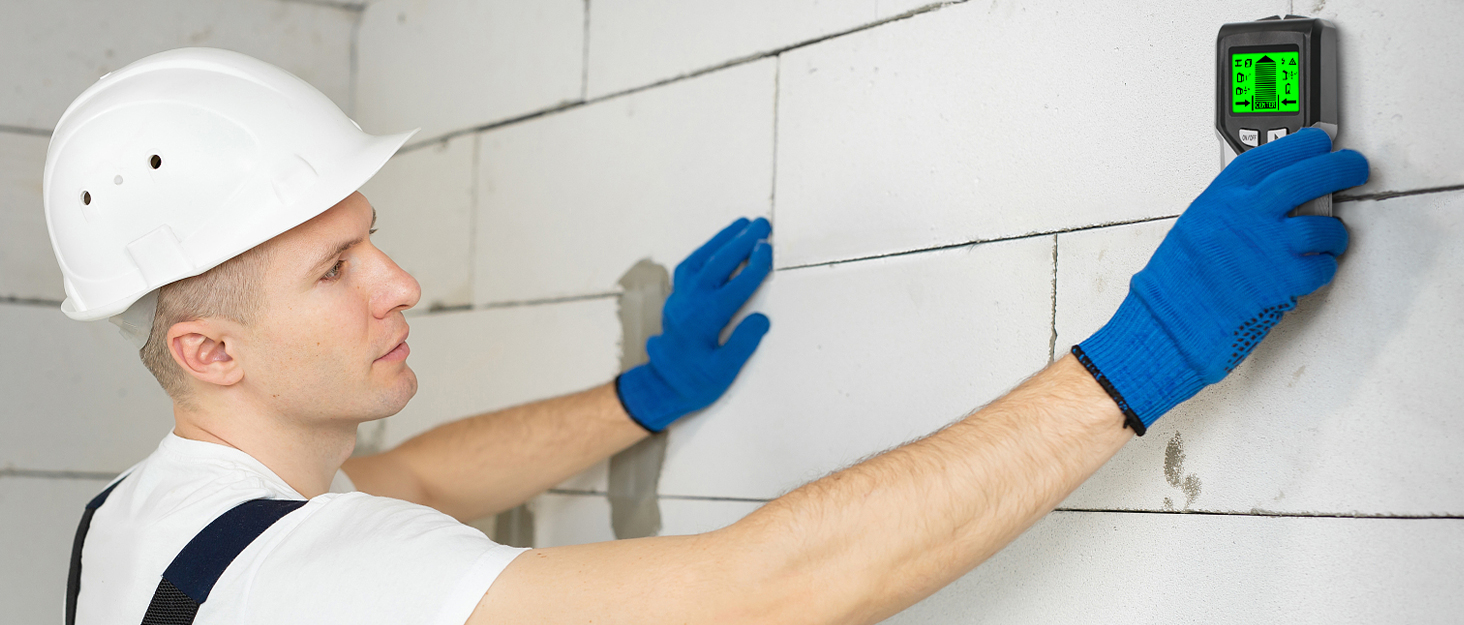
●Digital LCD Display & Audio Alarm: This stud finder comes with large LCD display and sound alarm, which can detect the exact location of the objects. When find the objects, the LCD display will indicate the direction and the intensity of beeping tells whether you are more close to the target. This LCD also features back-lit function which can provides a clear appearance even in low light conditions, indicating detection mode, center pointing, low battery indication etc.
●Easy to Use&Auto Calibration: Easy-to-read LCD display and ergonomic anti-slip handle provide users with comfort and convenience while scanning. The wall detector can be automatically calibrated anywhere on the wall to successfully find the center of studs in one step. This function provides maximum reliability to the user, greatly reduces errors in the application, and ensuring that most objects behind the wall can be detected.
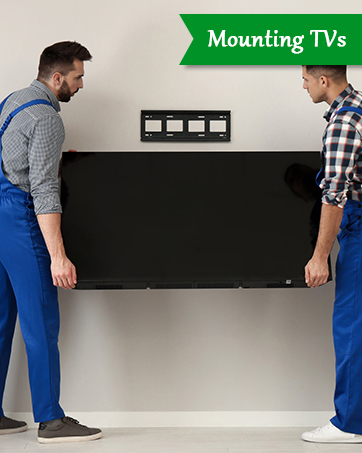
●Wide Use : This stud detector quickly locates wood, metal and AC wires hidden in the walls, floors and ceilings of the house. It can work on different wall surfaces, such as lath, wallpaper wood flooring, acoustic ceiling, painted walls, etc. helping you avoid danger when installing TVs, cabinets, garage racks, etc. The JAXWQ wall detector covers 60 days money back and 3 years warranty, please contact us if you have any problem with our products, we will get back to you within 24h.
[Deep Black]

[Deep Gray]

[Light Yellow]

[Deep Yellow]

Description

STUD FINDER WALL SCANNER

Whether you are hanging pictures, putting up a new set of shelves or getting ready to start an addition, knowing where the studs are in a wall can be extremely handy! And A good stud finder can be the difference between a successful DIY home project and disaster. That is why a stud finder is important.
JAXWQ stud finder uses UPGRADED SMART SENSORS which can sense the change in density in the space behind the wall and locates the stud center with GREAT ACCURACY. You will not worry to drill many error holes on the wall while putting up a TV bracket, shelf unit, or even just a set of coat hooks on drywall.

How to use AC mode
Note: If in AC scan mode/Metal scan mode, you need to put the tool in the air to calibrate it.
Step 1: Put the tool in the air and press the ON/OFF button to turn on, then choose AC mode or Metal mode.
Step 2: Press Calibrate Button to start calibration, the decreasing bars will disappear the buzzer will beep one time and the calibration is completed. Then releases the scan button.
Step 3: Place the whole device against the wall, slowly slide the tool across the surface. Mark the location where you get the highest AC indication (the most Middle bars on the screen). (Figure A): If it is a strong target, the top indicated arrow will show, and a steady beep will sound. Continue in the same direction until display bars reduce. Reverse direction and mark the spot where the display bars peak from the reversed direction. The midpoint of the two marks is the location of the center of the live AC wiring. If the unit indicates live electricity over a large area, you can reduce the sensitivity of the tool to refine the scanning area and more accurately locate the live AC wiring by following steps 4 and 5 below.
Step 4: (Figure B) To further pinpoint the location of the live AC wiring, scan the area again. Release the Scan button and then turn the unit back on, this time starting on the wall over one of the previous marks. This will reset the tool to lower sensitivity and narrow the scan area.
Step 5: (Figure C) Scan in both directions as in Step 3. The area indicated should become smaller so you can more precisely identify the location of live AC wires.
For the Frames of Figure A B C, please kindly check the instruction in the package.
|
|
|
|
|---|---|---|
Stud Scan DetectionThis stud locator has 3 stud scan modes. Deep Scan Mode scans through 2 layers of drywall up to 1.5 in. (38 mm) deep. DeepScan Mode is a higher sensitivity scanning mode that should be used when there are extra layers of wallboard or paneling. To minimize false positives and/or finding other objects further behind the wall that may not be a stud, always start your scan in the 0.5in. or 1 in. StudScan Mode first. After you detect the center of an object, Please Use Metal Scan to determine if the reading in Stud scan mode was a wood stud, metal stud, or pipe. |
Metal Scan DetectionJAXWQ wall detector can locate metal studs in StudScan mode, DeepScan mode, and Metal Scan Modes. Since JAXWQ stud finders are looking for a change in density behind drywall, not a particular material, in StudScan and DeepScan Modes the detector will react to metal studs the same as it would for wooden studs. |
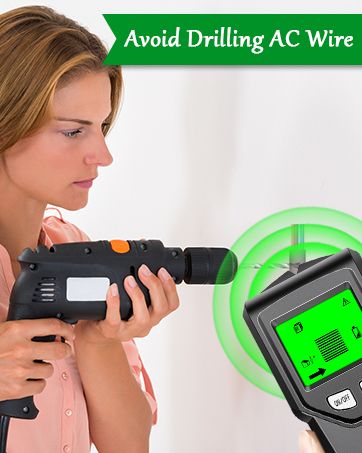
Wire Warning DetectionWire Warning detection indicates the presence of live, unshielded electrical wiring up to 2 inches (51 mm) deep. For Safety, in all modes, this wall scanner always detects and indicates the Live AC Wire. Note: WireWarning Detection works in both StudScan / DeepScan / MetalScan Modes. The WireWarning Detection Icon will flash when live, unshielded wires are detected. |


|
|
|
|
|---|---|---|
Step 1: Calibrate the tool before every scanPlace the whole device against the wall, then press and hold the calibration button( on the side of the tool) to calibrate this tool. Wait for the reducing bars to disappear and beep to confirm calibration has been completed. Note: In stud/deep mode, put it on the wall where you want to detect to calibrate it; In AC/Metal mode, put it in the air to calibrate it. |
Step 2: Scan the wallAfter finishing calibration, please release the calibration button. Then move the stud finder along the wall slowly, if you shake or lift the scanner accidentally, the device needs to be re-calibrated. |
Step 3: Find the location of the studWhen the signal bar is full and the beep alarm is loudest, it means you have found the center of an object. Mark it with your pencil. Then choose the Metal Scan mode to test whether it is a metal. After you confirm that it is not a metal, it means that you found the center of a stud. (More details refer to the above description of "Metal Scan Detection")Then you can drill it to hang the thing. |